Generate your Build file Specification with Project Maker
- How to use the ProjectMaker tool? (1:30 min)
- Create the build specification using the ProjectMaker tool
- How to Refine Externals?
The Project Maker tool allows you to describe your projects by specifying your source files, include paths and defines. This tool is used mainly for the following cases:
- Your project is not a Visual Studio one, and you can't use the BuildMonitor to intercept the build process.
- To refine the external symbols.
How to use the ProjectMaker tool?
Create the build specification using the ProjectMaker tool
-
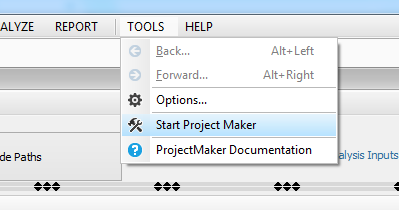
Launch the ProjectMaker tool; you can start it from the CppDepend Tools Menu.
-
Select the option: AddProject

-
The next step is to specify the source files to analyze. For that there are two possibilities:
- 1) Use the "Add Existing Directory" option: in this case you specify a directory from your disk to add all the directories and the C/C++ source files under it.
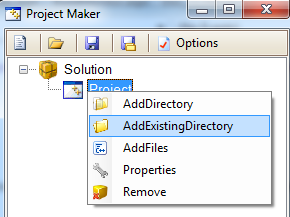
- 2) Add a virtual directory and add the source files to it.
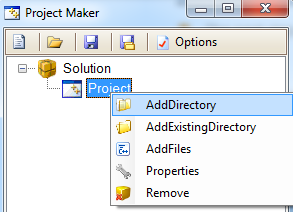
- 1) Use the "Add Existing Directory" option: in this case you specify a directory from your disk to add all the directories and the C/C++ source files under it.
-
After adding the source files, you can specify the project properties.
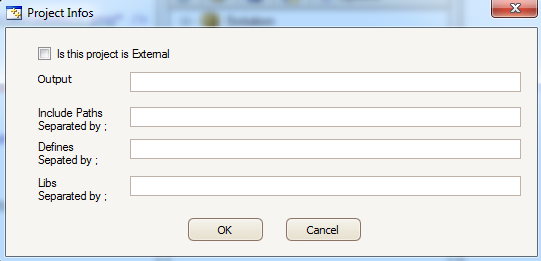
Include paths, Libs used and Defines are separated by; - Save this configuration with the .sl extension, and you can analyze this file with CppDepend.
How to Refine Externals?
After analyzing your projects, some external symbols could exist in the generic external project named "Externals".
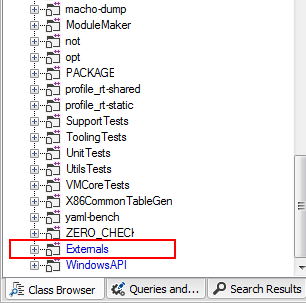
To refine these external symbols,and put the symbols in the corresponding external project unstead of the generic one. you can follow the following steps:
- Create a project as described before.
- Add to it the directory where the library include files exist.
- In the project properties you have to check the "Is this project is external" option.
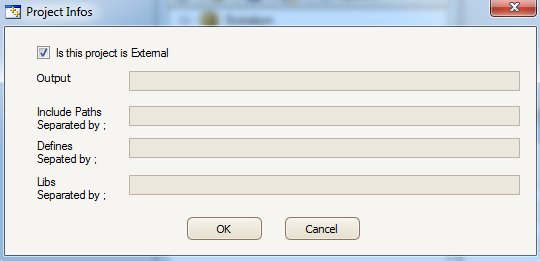
-
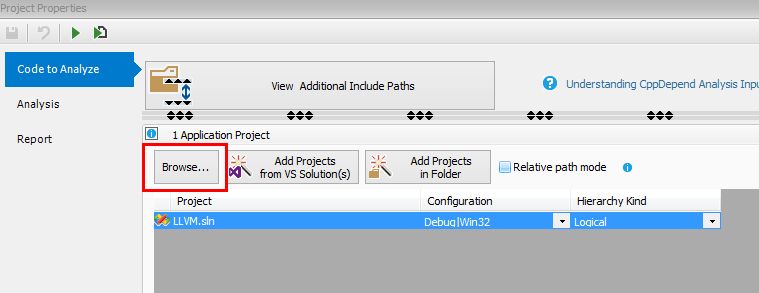
Add the .sl file and save to the VisualCppDepend entries using the Browse button.
